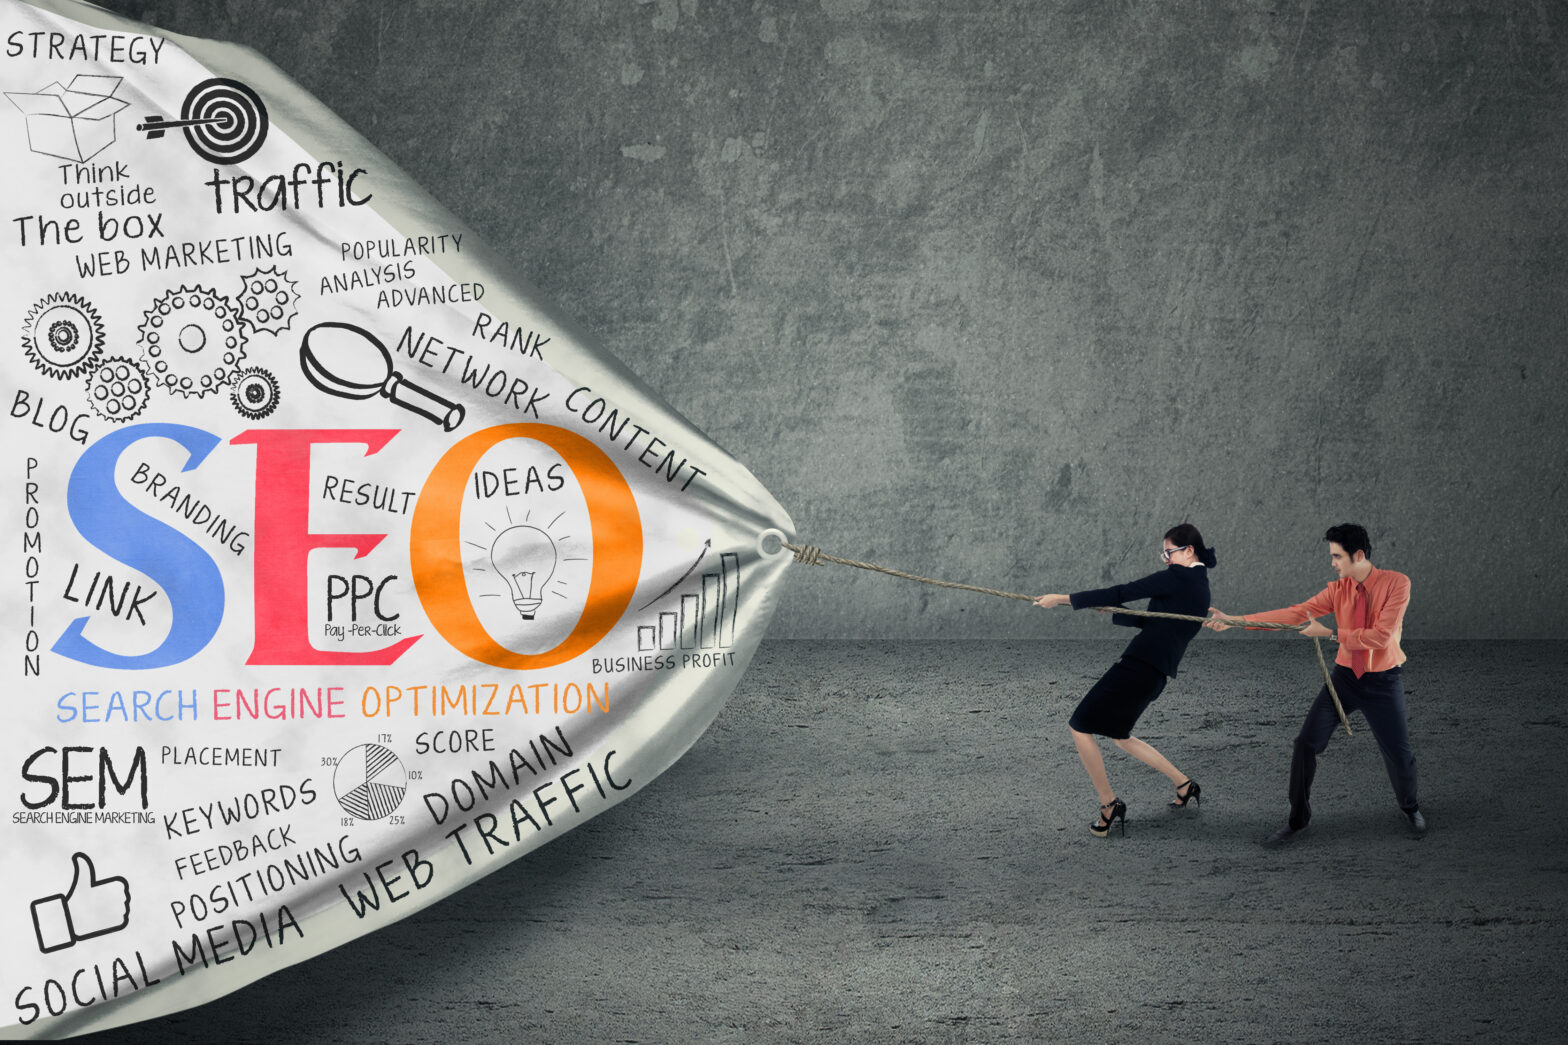
Did you know that ‘optimising’ the images you upload on your website can pay dividends not only with regards to how they look, but also in terms of Search Engine Optimisation (SEO)? It is obvious that optimised images look better from a design standpoint but they can also generate impressive amounts of traffic on Google Images and other image-based search engines.
Step 1: Use only the best images
With so many premium quality stock photo sites to choose from, there is a veritable Aladdin’s Cave of images that can be yours for free. Great websites include Little Visuals, Unsplash, Pixabay and SplitShire. When it comes to taking pictures (of your staff for example since these pics can’t be downloaded), you can make them look professional by using simple techniques such as creating a well-lit space, using unique angles and showing scale. Don’t forget to optimise not only photographs, but all image files across your website. This includes your logo, banners and even your video files.
Step 2: Choose between JPEG and PNG
Normal photos should be saved and uploaded as JPEGs because doing so in PNG would only leave you with a gigantic file which is unnecessary. Files such as infographics, images and design files should be saved and uploaded as PNGs which offer a much higher quality image.
With most photo programs, all you need to do is click on Save As, Export (or Save For Web) and choose the file type. You can even use Zamzar and other free tools to convert the files. Don’t bother trying to convert a JPEG file into a PNG one as it won’t have the desired effect. Conversely, converting a PNG file into a JPEG one works well.
Step 3: Making images ‘web friendly’
Finding the right balance between the size and resolution of your files is essential when it comes to ranking well on search engines. Hi-res images look good but take up a lot of space which increases page loading time; this has a deleterious effect on your site’s search ranking.
Some people try to increase the size of a low-quality image but it is a fool’s errand as the end result is a mess of a picture. It’s important to note that websites don’t need the large images seen on print advertising.
What is size?
- File size: The amount of space in bytes a file uses on your computer. A 100KB (kilobyte) file is relatively small while a 20MB (megabyte) is comparatively huge. A large file usually means the image’s resolution is high or the physical size of the image is too big.
- Image size: Refers to the height and width of an image and is measured in ‘pixels’. While ‘traditional’ photos may be measured as 8×8 for example, web images have measurements such as 400×200 pixels.
- Resolution: Relates to the density (or quality) of an image and measured in dots per inch (dpi). Forget about using anything above 72dpi as the average computer screen won’t display it. If you see a ‘Save for web’ option, it means your file will be saved as a low resolution suitable for computers.
How to find an image’s size
To determine file and image size, simply right click on the file and choose Properties and Summary. For Mac users, press Ctrl+Click before selecting ‘Choose Info’. You will need Photoshop or a similar program to determine an image’s Resolution.
What if my image is more than 1MB?
- Change Image size: As we said in #5 above, it isn’t hard to reduce the size of an image so if you have a 5000 pixel wide picture, cut it down to 1200 pixels or side.
- Reduce Resolution: Choose ‘Save for web’ or use a photo program like Canva or Pixlr.
- Reduce File size: TinyJPG and TinyPNG are both great for cutting the size of files.
Step 4: Achieving style and size consistency
Consistency in style and size works wonders for the aesthetics of a website. Pages look a bit messy when you have images in different dimensions; for example, pages with horizontally and vertically-orientated photos simply don’t ‘look’ right. Fortunately, you can use programmes such as Pixlr to crop and play with images until they are uniform.
Step 5: Optimise alt text intelligently
Don’t forget to fill in the additional information once you upload an image as this offers extra SEO benefits. While alternative text (alt text) is invisible to humans, it allows search engines to understand what the images are all about. So when you upload, add in keyword-orientated alt text to boost your page’s SEO ranking. Finally, add a caption to your images as it is what most people read first.
Step 6: Use image site maps
If your site uses JavaScript galleries, image pop-ups or other ‘flashy’ ways to improve the overall shopping experience. Google image site maps will help you get your images noticed by Google. Web crawlers can’t crawl images that are not called out in the webpage source code. So in order to let them know about these images, you must list their location in an image site map. You can follow these guidelines that Google suggests when creating a sitemap with image information.
Niall O’Loughlin is marketing manager at graphic design marketplace 99designs.