It’s all well saying that you want to create content on YouTube, but how do you create the content?
In this guide we’ll explain how to film YouTube videos that look slick and professional.
>See also: How to create a YouTube channel
Do your planning
It’s not easy to just switch on the camera and film a video when you’re starting out – you might just freeze. Get your basics down: write a script, establish your location(s), find out which locations and times of day are quietest to film. This gives you a better idea of what your environment will be like plus knowing what you’re going to say in advance will let you speak with confidence and improve your camera presence.
YouTube says that the first 15 seconds of the video are crucial as that’s the time you have to capture your audience. Try doing a short teaser of the video ahead or lead with a bold first line.
Do some test runs in advance to see if your plan needs any changing.
>See also: How I grew my YouTube channel to over 68,000 subscribers
Light
Lighting is one of your most important elements in making your video look professional. It sets the mood of your video and where you want your viewers’ attention to be.
The best thing you can do is have a light source off-camera, facing in your direction. That works in most videos. If all else fails, you can play around with the overhead lighting and lamps that you have. Keep a few metres between yourself and the back wall so that you don’t cast any distracting shadows.
One other thing: be careful where you film in relation to windows. It’s best to have them to your side or behind you. This means you get natural light to brighten up the scene, but it won’t wash you out or create ghastly shadows.
You can find out more about lighting set-ups at the YouTube Creator Academy.
Sound
How could we forget sound? The first must-do is to record in a quiet environment as far as possible. If you’re inside, a room with soft furnishings will absorb the sound.
Different microphones serve different purposes, depending on what content you want to create with them. In any case, an external mic will record clearer sound than an internal mic. Shotgun microphones are directional for a one-way sound source, lavalier microphone (also known as ‘lav’ mics) fix on to your lapel and are good for interview videos, especially if you’re at a distance from one another.
Those recording on a phone can find relatively cheap external microphones to plug into their smartphone. Whichever you decide to go for, check the microphone’s connection with the camera to make sure they’re compatible.
As mentioned, recording outside would be better served at a quiet spot and/or a quieter time of day. A boom microphone can be helpful here as they block out sounds like high wind. You’ll will need somebody else with you though as they’re fixed onto a long pole.
Have a clean background
A little bit of visual interest – say, a picture on the wall – can enhance your video. Don’t go for a plain white wall otherwise the camera will struggle with the contrast between you and the wall. However, a cluttered background risks snatching viewers’ attention away from what you’re saying – and they may well tell you that in the comments! So, if you’re doing more of a Q&A or chat video, keep your background in mind.
See also: How to get started with brand partnerships on YouTube
It could be worth getting a block colour backdrop if you’re doing a video which requires a lot of viewer focus, such as a video camera tutorial. We’d advise more of a gentle grey than a bright yellow, of course.
Your home office or even your bedroom could work as a backdrop, depending on how much clutter you’ve got going on in the background.
Use a tripod or use a steady surface for your camera
A shaky image will certainly put your viewers off – and give them a headache. When you’re laying out your initial investment, be sure to pick up a tripod which is suitable for whatever you’re filming with, even if it’s a smartphone. At the very least, place your camera and microphone on a table and keep still while you’re filming to avoid rocking them.
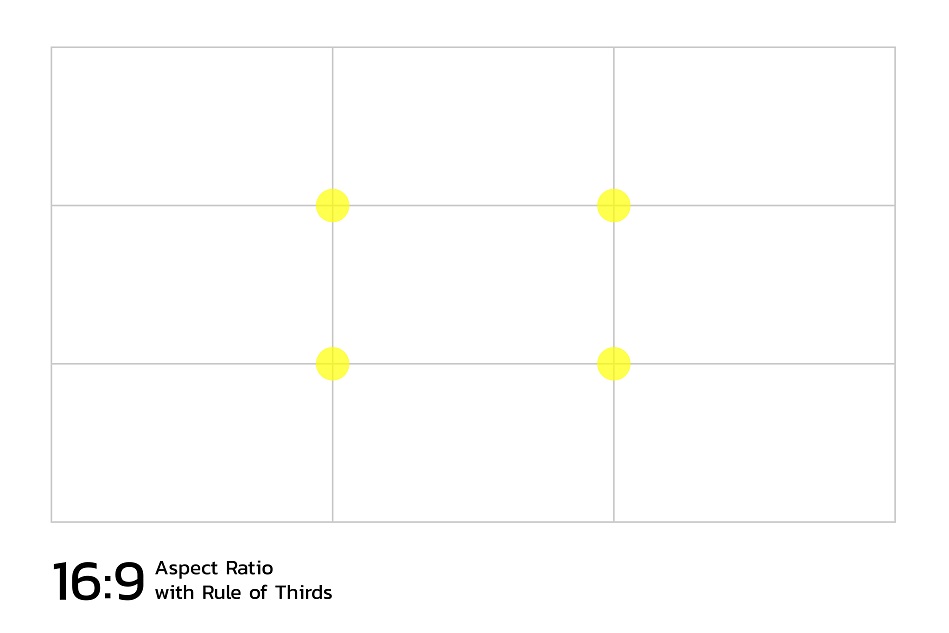
Remember the Rule of Thirds
It’s natural to assume that you’d put the subject of your video slap bang in the middle of the shot. You’d be wrong. Imagine a grid on your frame and aim to have your subject hitting one of the line intersections in that grid. That’s to the right or to the left of centre.
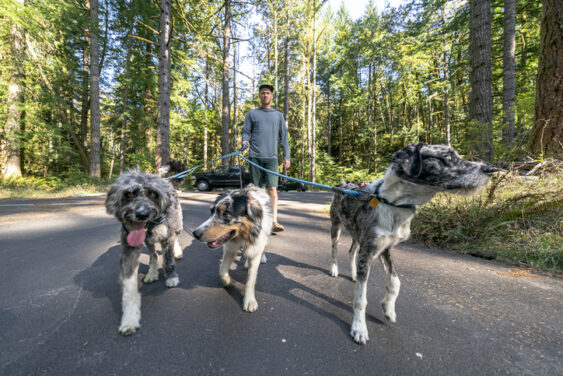
Film from different angles
Depending on what kind of video you’re filming, different angles add a lot of that visual interest. Watching the same camera angle for several minutes becomes tedious, even to someone who has a lengthy attention span.
Whenever you change angles, make sure it’s at least a 45-degree change in camera angle otherwise it just looks accidental and jarring to the viewer.
B roll
B roll serves the same function as different camera angles in that it breaks up your video, making it more interesting. It can be any shots related to your video that aren’t your main footage, such as scenery or stock imagery, that gets weaved in with the main footage in the final edit.
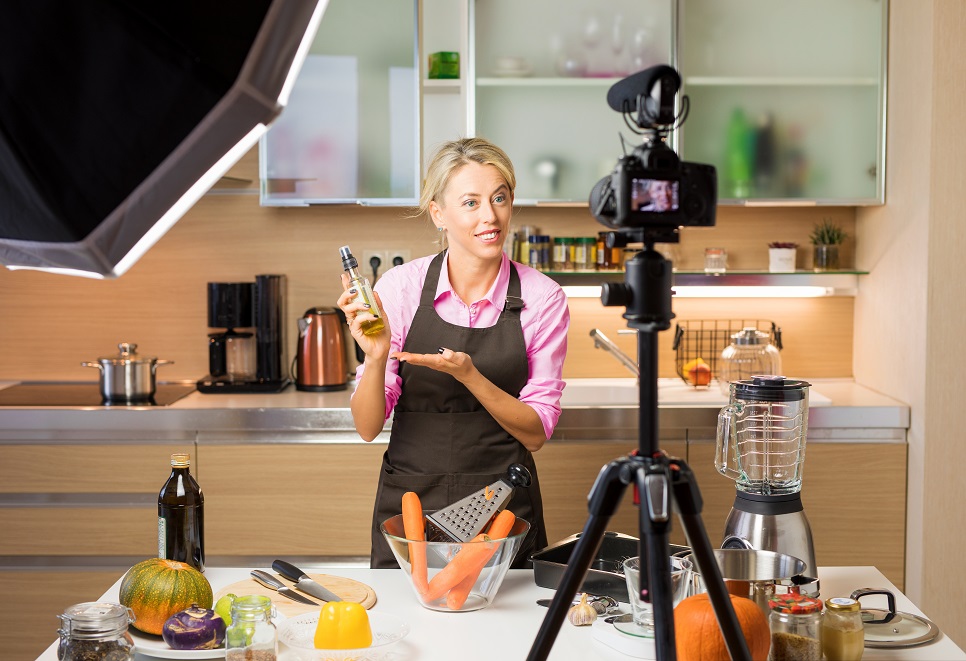
Clothing
You might not believe it, but your clothing can make a difference to how you come across on video. Block colours, particularly dark colours, are best. Avoid patterns as they could warp on camera and distract your viewer. That means no stripes, zig zags or houndstooth.
Some advise on erring towards the side of formal when filming, but what you wear depends on your audience. Those filming and talking about topics such as business or finance would be better off formal but if you’re doing a recipe video, wear something casual or crack out your apron, as long as it’s not striped!
Work on your camera presence
Speaking of how you come across on camera, you could well be presenting. Your camera presence will be one of the deciding factors as to how your audience responds to you.
It’s best if you have a calm and friendly persona. Like learning posture as a child, ensure your shoulders are back and relaxed but not rigid. Avoid crossed arms as signals closing off your audience. Remember to smile too.
It’s worth practicing a few times so that you become comfortable in front of the camera. You might wince on the replay, but keep the camera rolling – you never know if one of your practice runs will be your best take.
Have a glass of water off-camera so that your throat doesn’t become too dry and affect your speech.
Think of the editor
When you’re presenting, avoid run-on sentences which will be difficult for the person editing to cut out. Leave gaps between sentences and speak slowly. Advise your guests to do the same. Record a clip of yourself speaking and listen back to it, imagining how it will be edited.
Recording on your smartphone
For those filming (or just starting out), you can practice the following tips to get the best shots possible on your smartphone.
- Use the back camera as it’s better quality than the front
- Avoid back-lit settings – bright light around a dark figure will add a sinister feel to your video
- Record in landscape, not portrait
- Get a smartphone tripod to reduce shakiness
- Use time lapse for long and/or boring sequences